
Tip 10 - How To Shoot In Full Manual Mode

Full manual mode isn’t intimidating. If you followed my last tip and had enough practice on aperture priority, now switch your dial to manual mode.
Beginner tips
(Skip if you already know the exposure triangle)
In addition to the aperture that can control the exposure with the amount of light entering through the lens, we can also control shutter speed and ISO to adjust exposure.
👉Shutter speed is the length of time light travels to the sensor. Faster shutter means less light; slower shutter means more light.
If you photograph people and would like to get a sharp image of your subject, a safe shutter speed is 1/250 second or faster (for telescope lens, it could be 1/320 second or faster). A shutter slower than that will likely result in blurry image, particularly if your subject is child or animal with unpredictable moves.
👉ISO is the sensitivity of the digital sensor. Higher ISO means more sensitivity, resulting in a brighter image, lower ISO means less sensitivity, resulting in darker image.
If your camera is a crop sensor (or non-full frame) mirrorless or DSLR, a safe ISO zone is ISO1600 or lower for crop sensor DSLR, and possibly ISO3200 for crop sensor mirrorless, just to give you a general idea (actual ISO performance differ among cameras even they are in the same category).
ISO higher than 1600 will likely introduce digital noise into your image. But if you have a full frame mirrorless or DSLR camera, you can go beyond ISO3200 for full frame DSLR and even beyond ISO5000 for full frame mirrorless, depending on the camera’s low light performance. My latest mirrorless full frame camera Sony A7IV can set an ISO as high as 204800. However, in practice, I wouldn’t go beyond ISO12800 in order to ensure image with reasonable quality.

Manual mode, ISO640, 55mm, f2.0, 1/320sec
When Do You Need To Use Full Manual Mode?
As mentioned before, I typically use aperture priority in normal day light, when the light is neither too strong, nor not too dark.
Why did I specifically mention the “normal” day light condition? Because this is the time window when the light can be easily managed by you and your camera. As long as you set the aperture wide open (with a small f-stop value), your camera generally will set a fast enough shutter speed to offset the light coming into the camera, allowing you to get a good enough exposure as well as sharp enough image.

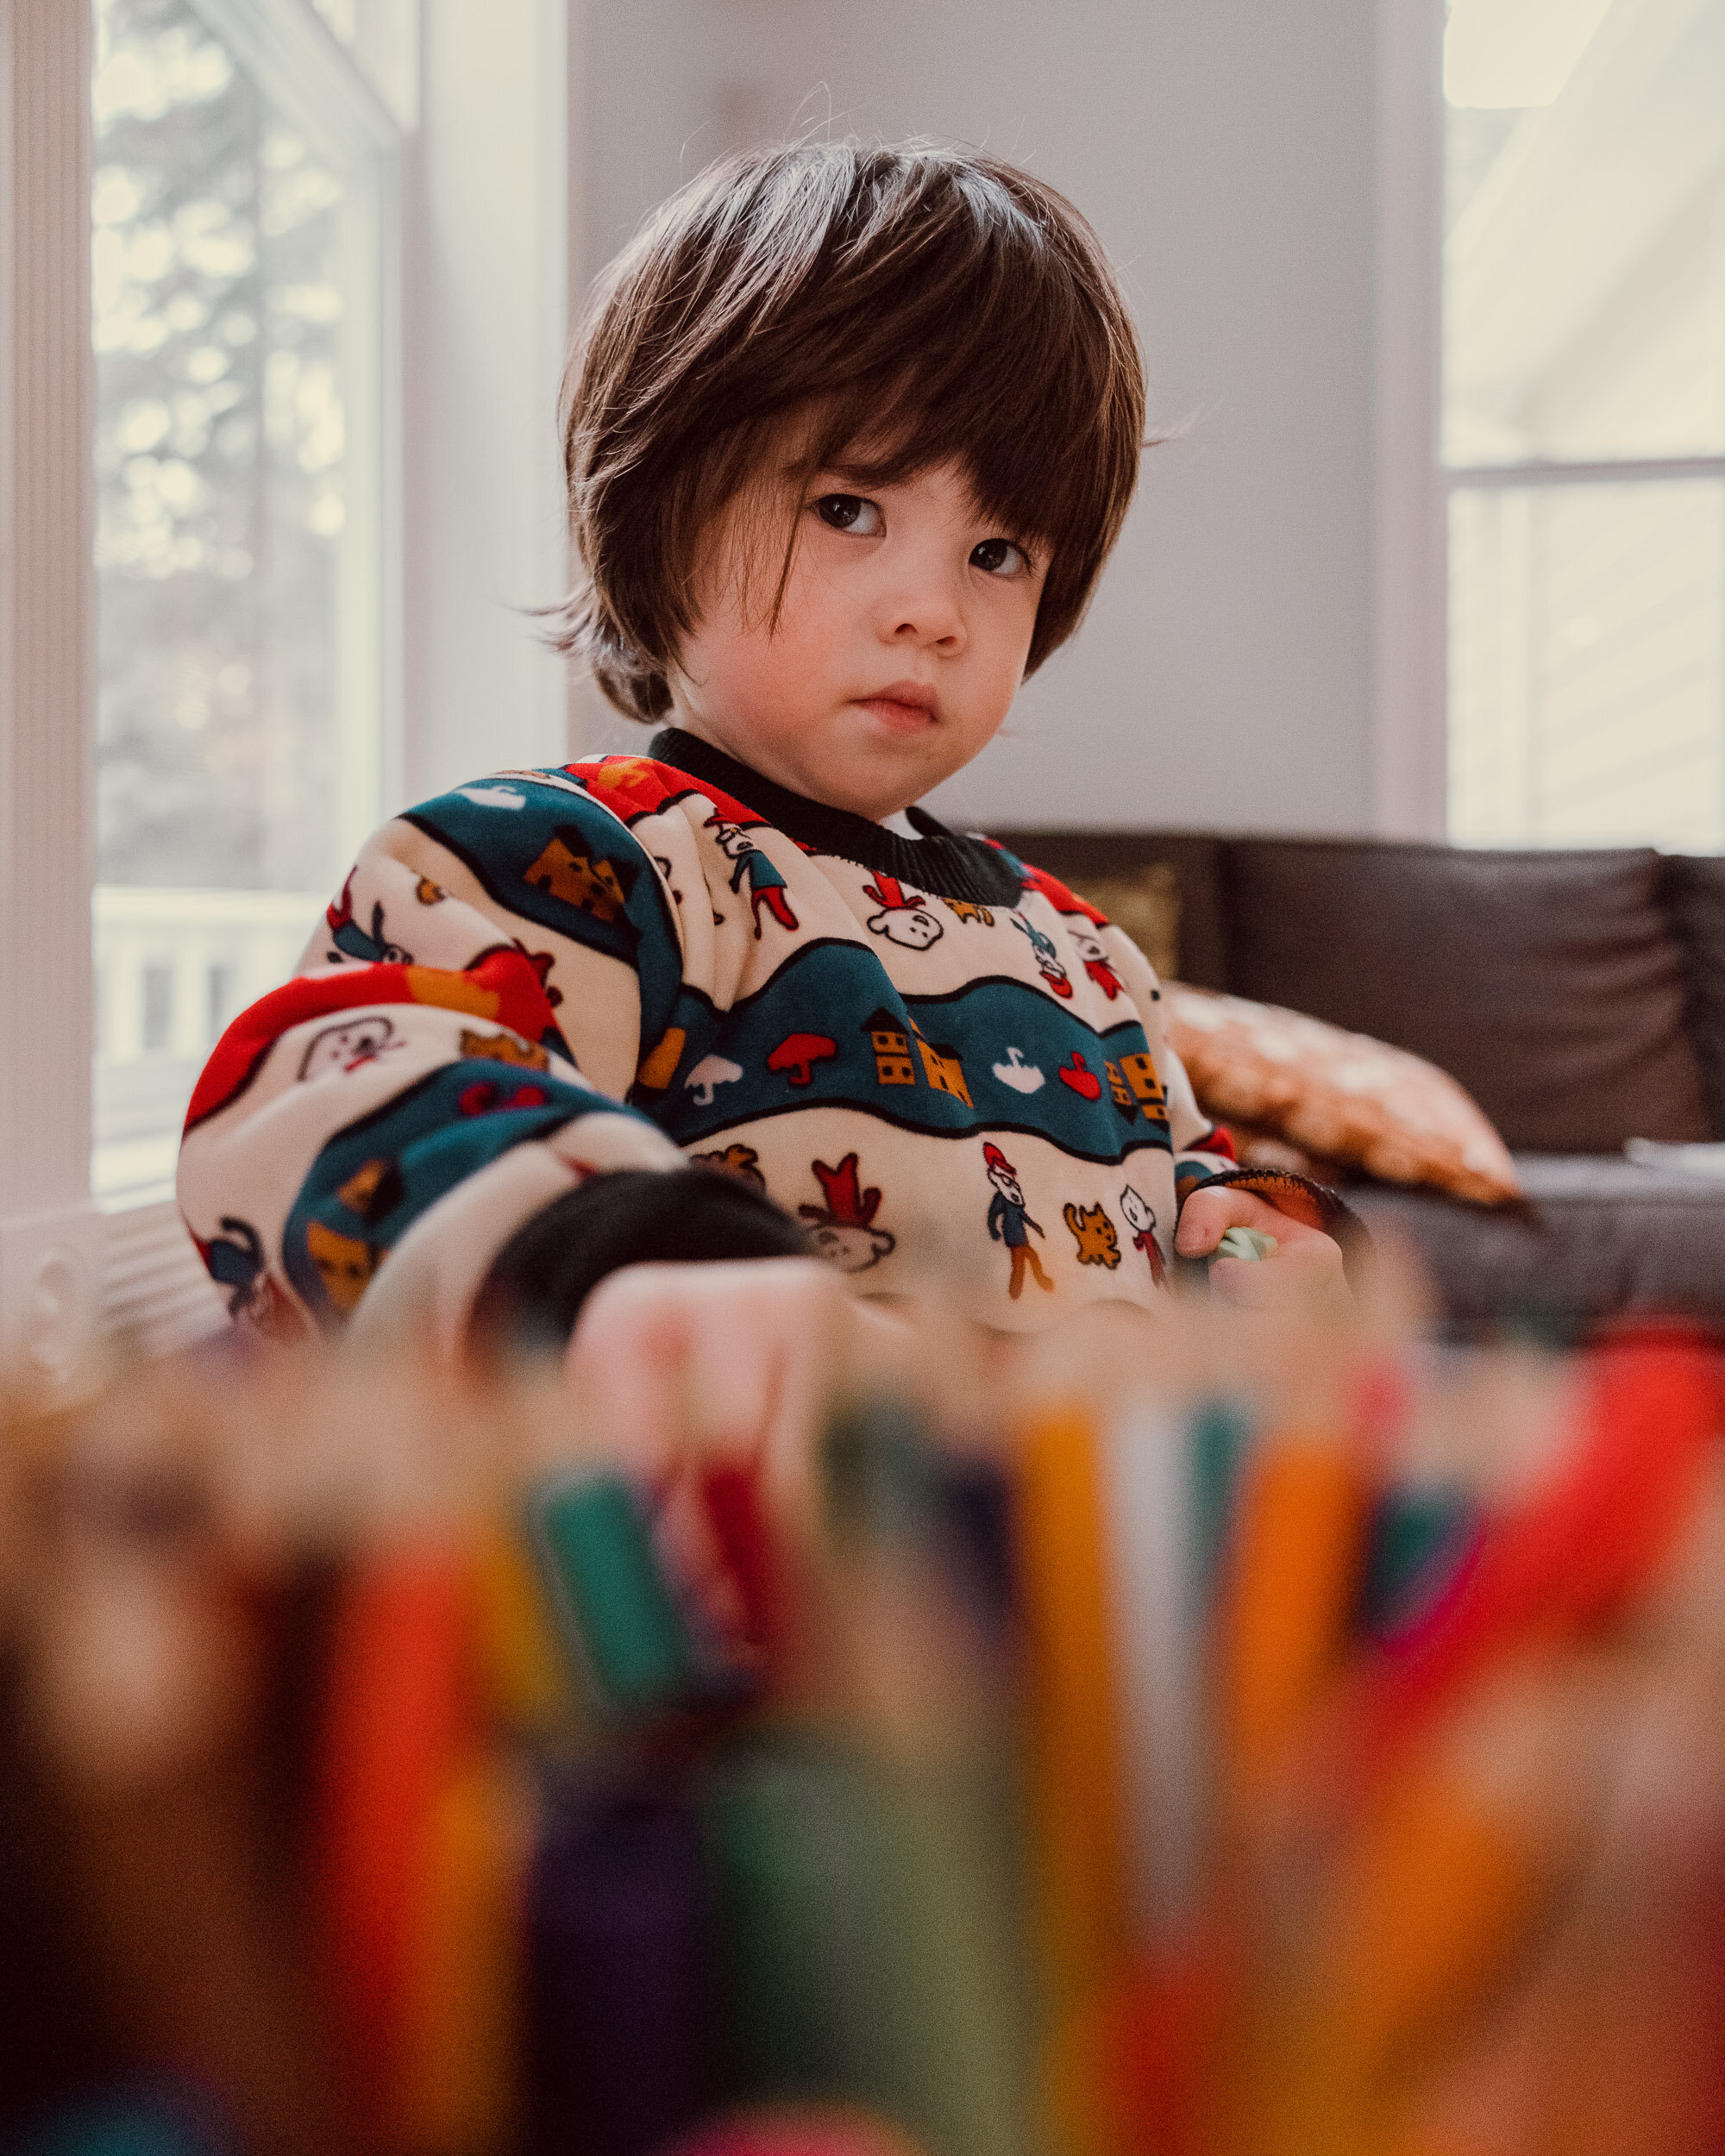
Manual mode, ISO125, 55mm, f1.8, 1/320sec
On the other hand, in darker environment, eg. in outdoor shade (such as a forest) or indoors, with the same wide open aperture in the aperture priority mode, your camera will automatically slow down the shutter speed to allow more light into the camera in order to get the right exposure.
This is when the problem occurs. Slower shutter speed typically will result in blurry images due to camera shake or main subject moving too fast. As I mentioned in my last post, I found 1/250sec a minimum shutter speed to photograph people, especially children (or any moving subject with unpredictable moves), without blur.
This is when you want to switch your dial to manual mode.
Need A Handy Camera Settings Guide At Your Finger Tips Anytime You Want? Click Below.
Camera Settings Cheat Sheet For A Perfect Trip
〰️
Camera Settings Cheat Sheet For A Perfect Trip 〰️
Your exercise
Assume you are still photographing people outdoors, in the normal day light condition, let’s start from the smallest f-stop value your lens allows again. F2, f2.8, f4, f5.6, whatever the smallest number you can go…
Set a shutter speed at 1/250 second, leave the ISO on 1600. You might encounter one of the following situations:

Manual mode, ISO1600, 70mm, f.2.8, 1/250sec
If your photo looks too dark based on histogram (see tip 4), try the following:
change your shutter speed to a slower speed, but make sure you hold your camera still while clicking the shutter, and have your subject stay still. Slower shutter speed typically will result in blurry images due to camera shake or main subject moving too fast. This is not recommended approach, especially if your subject is move constantly (eg. children or pets). Sometimes you can go by as slow as 1/100 second to photograph an adult or still subject, especially when a camera or lens you use have good image stabilization feature.
change your ISO to a higher value, but keep it at the safe zone mentioned before. Please note higher ISO typically means higher pixel noise. A beginner DSLR might show pixel noises even at ISO1600 while a full frame mirrorless camera could go up to ISO12800 or beyond. This is when camera does matter.
If your photo looks too bright based on histogram (see tip 4), try the following:
decrease your ISO
change your shutter speed to a faster level, such as 1/320”, 1/400” and so on;
increase your f stop to a higher value, or decrease the aperture to allow less light into the camera. For example adjusting from f2.8, to f3.2, f4, f5.6 and so on.
try the combination of the above, and see what happens.
Note I repeated mentioned histogram, it’s the only tool for you to judge if your photo is too bright or too dark. Sometimes the photos might look OK to you in terms of brightness, but that’s your subjective opinion. By all means, you want to avoid over- or under- exposure on your photos, because you can’t recover the data lost in the overexposed or underexposed part of the image, especially the former.
For you to improve your photo quality, learning to use histogram is critical.
ISO4000, 24mm, f2.8, 1/250sec
Once you get enough practice, the rest is just your creativity, and the sky is the limit!
Go back to Camera Settings and Techniques Chapter