

Tip 11 - Why & how to Use spot metering
If you couldn’t figure out why sometimes your photos are so bright or so dark, or you took the same photo seconds apart but one was a lot brighter/darker than the other. This has something to do with your metering, something we don’t talk about often, yet of vital importance.

Let’s be honest. I’m not a big fan to share tips on technical details, nor do I think it’s the biggest reason to separate a good photographer from a bad. However, it’s the fundamental skill that you have to hone to increase your probability of getting good photos. You don’t want to be the photographer that accidentally get a great shot out of 100 clicks, you want to be the one that can consistently produce at least 50 good clicks, ideally 80 or even 90, right?
By default, most mirrorless or DSLR cameras come with center weighted metering or evaluative/matrix metering (see selection in the image below). If you don’t know these terms, it’s totally OK. Because I’d suggest you to change your metering mode to spot metering. Fortunately, you just need to change this once. I typically do that when I get a new camera. This is especially true if you follow my tip to use spot focus.

Sample screen for metering mode - 3rd one to the left is spot metering
Basically, metering helps your camera measure the brightness of your subject, and therefore decide the correct setting for the right exposure. Spot metering means you tell the camera to only measure a spot in your composition, instead of the center, or the weighted average of an entire image.
This is particularly helpful when the subject is much brighter or darker than the background, and the subject takes up a small portion of your frame. This will help the camera determine the right exposure based on your subject.
So let’s tackle the two scenarios one by one.
👉 Your subject is a lot brighter than the background
To me it’s a perfect scenario to use spot metering. Your camera will help you get the right exposure of your subject, and the background will be underexposed.
If you shoot in RAW format, which is the only format I shoot for all my photos (more detail on RAW in the next tip - Use Auto White Balance), your digital RAW files typically preserve more detail in shadows than highlights. In case you’d like to bring out some details from the shadows of the under-exposed background, you can still do that in Adobe Lightroom post processing.
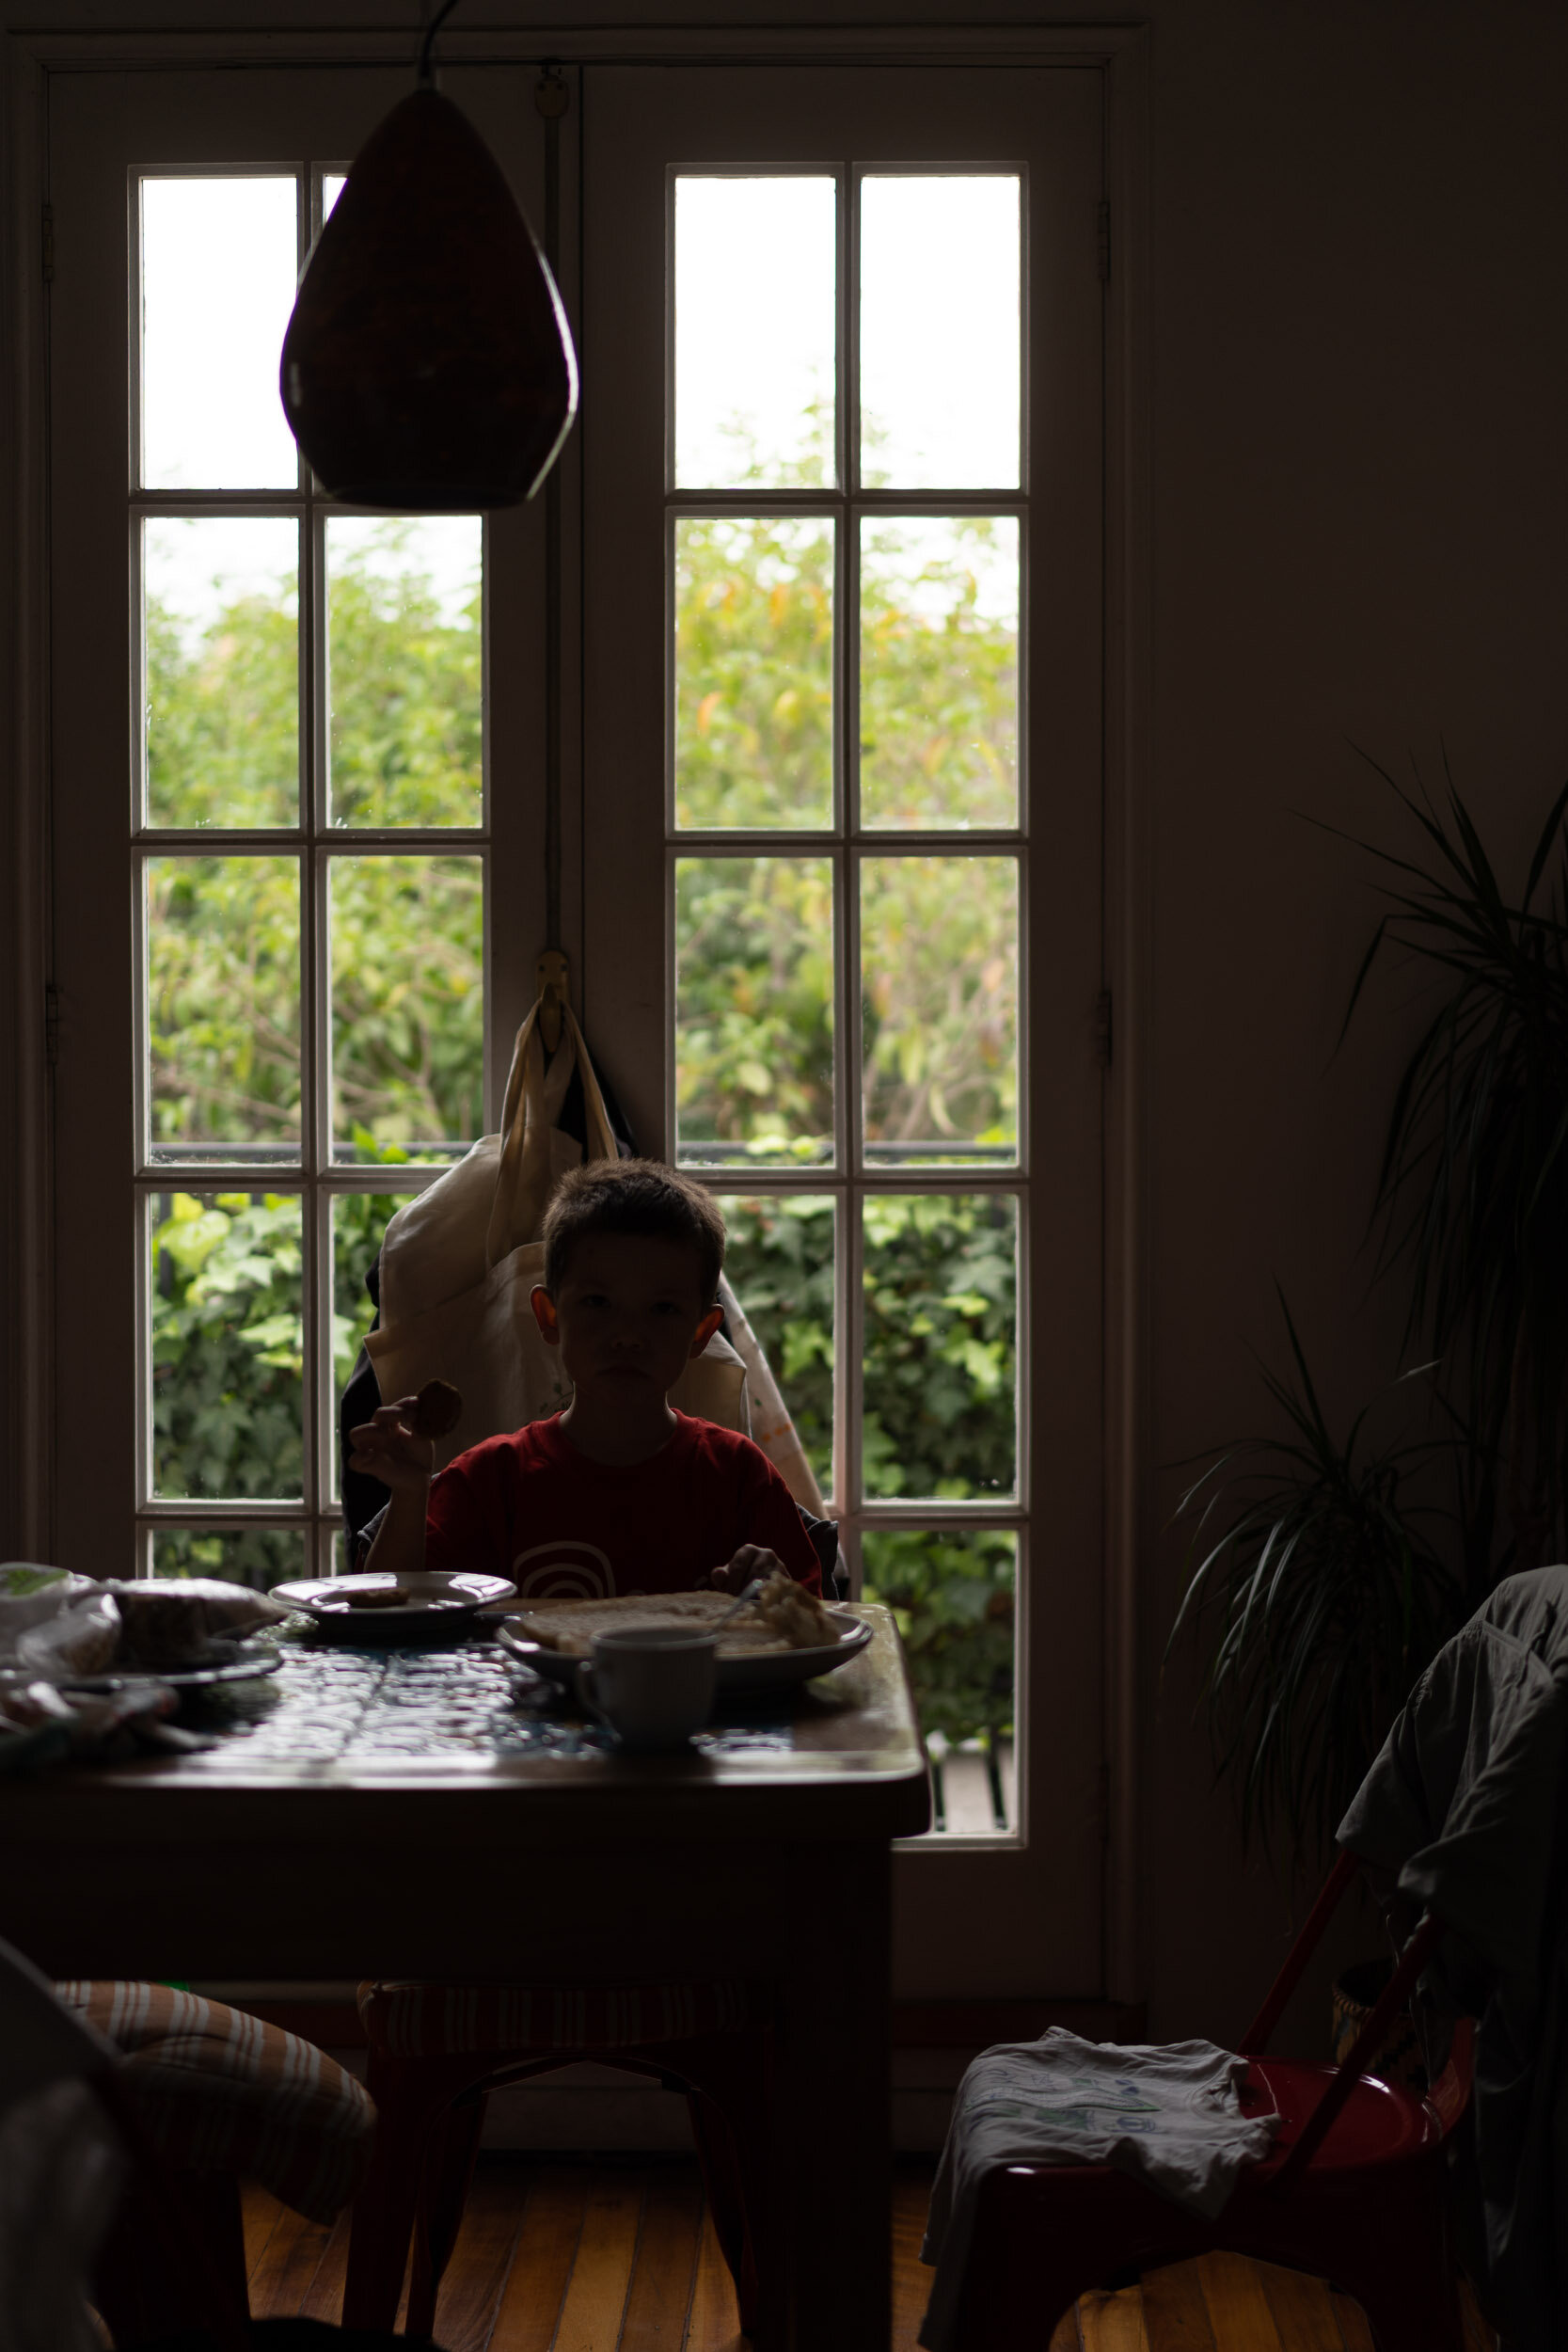
👉 Your subject is a lot darker than the background
There’s certain caveat, of course in this scenario. Spot metering will get the right exposure for your subject, but might blow out the background. That blow out part of the image could mean loss of digital data even the best post processing tools can’t recover. Therefore, if you are not sure about your camera’s dynamic range, your safe bet is to
use exposure compensation mentioned in the video of tip 4
under-expose your image (see following example), by spot metering on the background, instead of the subject. This will result in an underexposed subject, and correctly exposed background. In post processing, you can retrieve the details of your subject. As mentioned, your digital RAW files typically preserve more detail in shadows than highlights. So even your subject is in shadow and under-exposed, you are more likely to retrieve the details in post processing. See the example below, the image on the right is out of the camera, and the image on the left is the retouched version.

Go back to Camera Settings and Techniques Chapter