A Parent’s Guide to Candid Photos
30 Day Photography Fundamentals
Tip 1 - How To choose the right camera
Make the best use of the camera you have. Have the right attitude. Remember it’s you, the photographer, that makes a good image! Your camera is just a tool!
Tip 2 - how to choose the right lens
Let me share with you a big secret. An entry level camera plus a quality lens will make much more difference than a high end camera with a low end lens. So don’t spend that much time on which camera. Instead, find the right lens!
Tip 3 - Why And How To Choose A Tripod
Skip this is you only want to photograph your kids. But if you are interested in family selfie or landscape while on a family trip, read on.
Tip 4 - Find your flat even light
Great photographers are masters of light. There are many sources of light, eg. natural light - sun light, moon light, or artificial light - tungsten light, florescent light, flash light, studio light etc. As a beginner or amateur, your best friend is natural light. Why? Because it’s free.
Tip 5 - Cloudy day could be your best friend
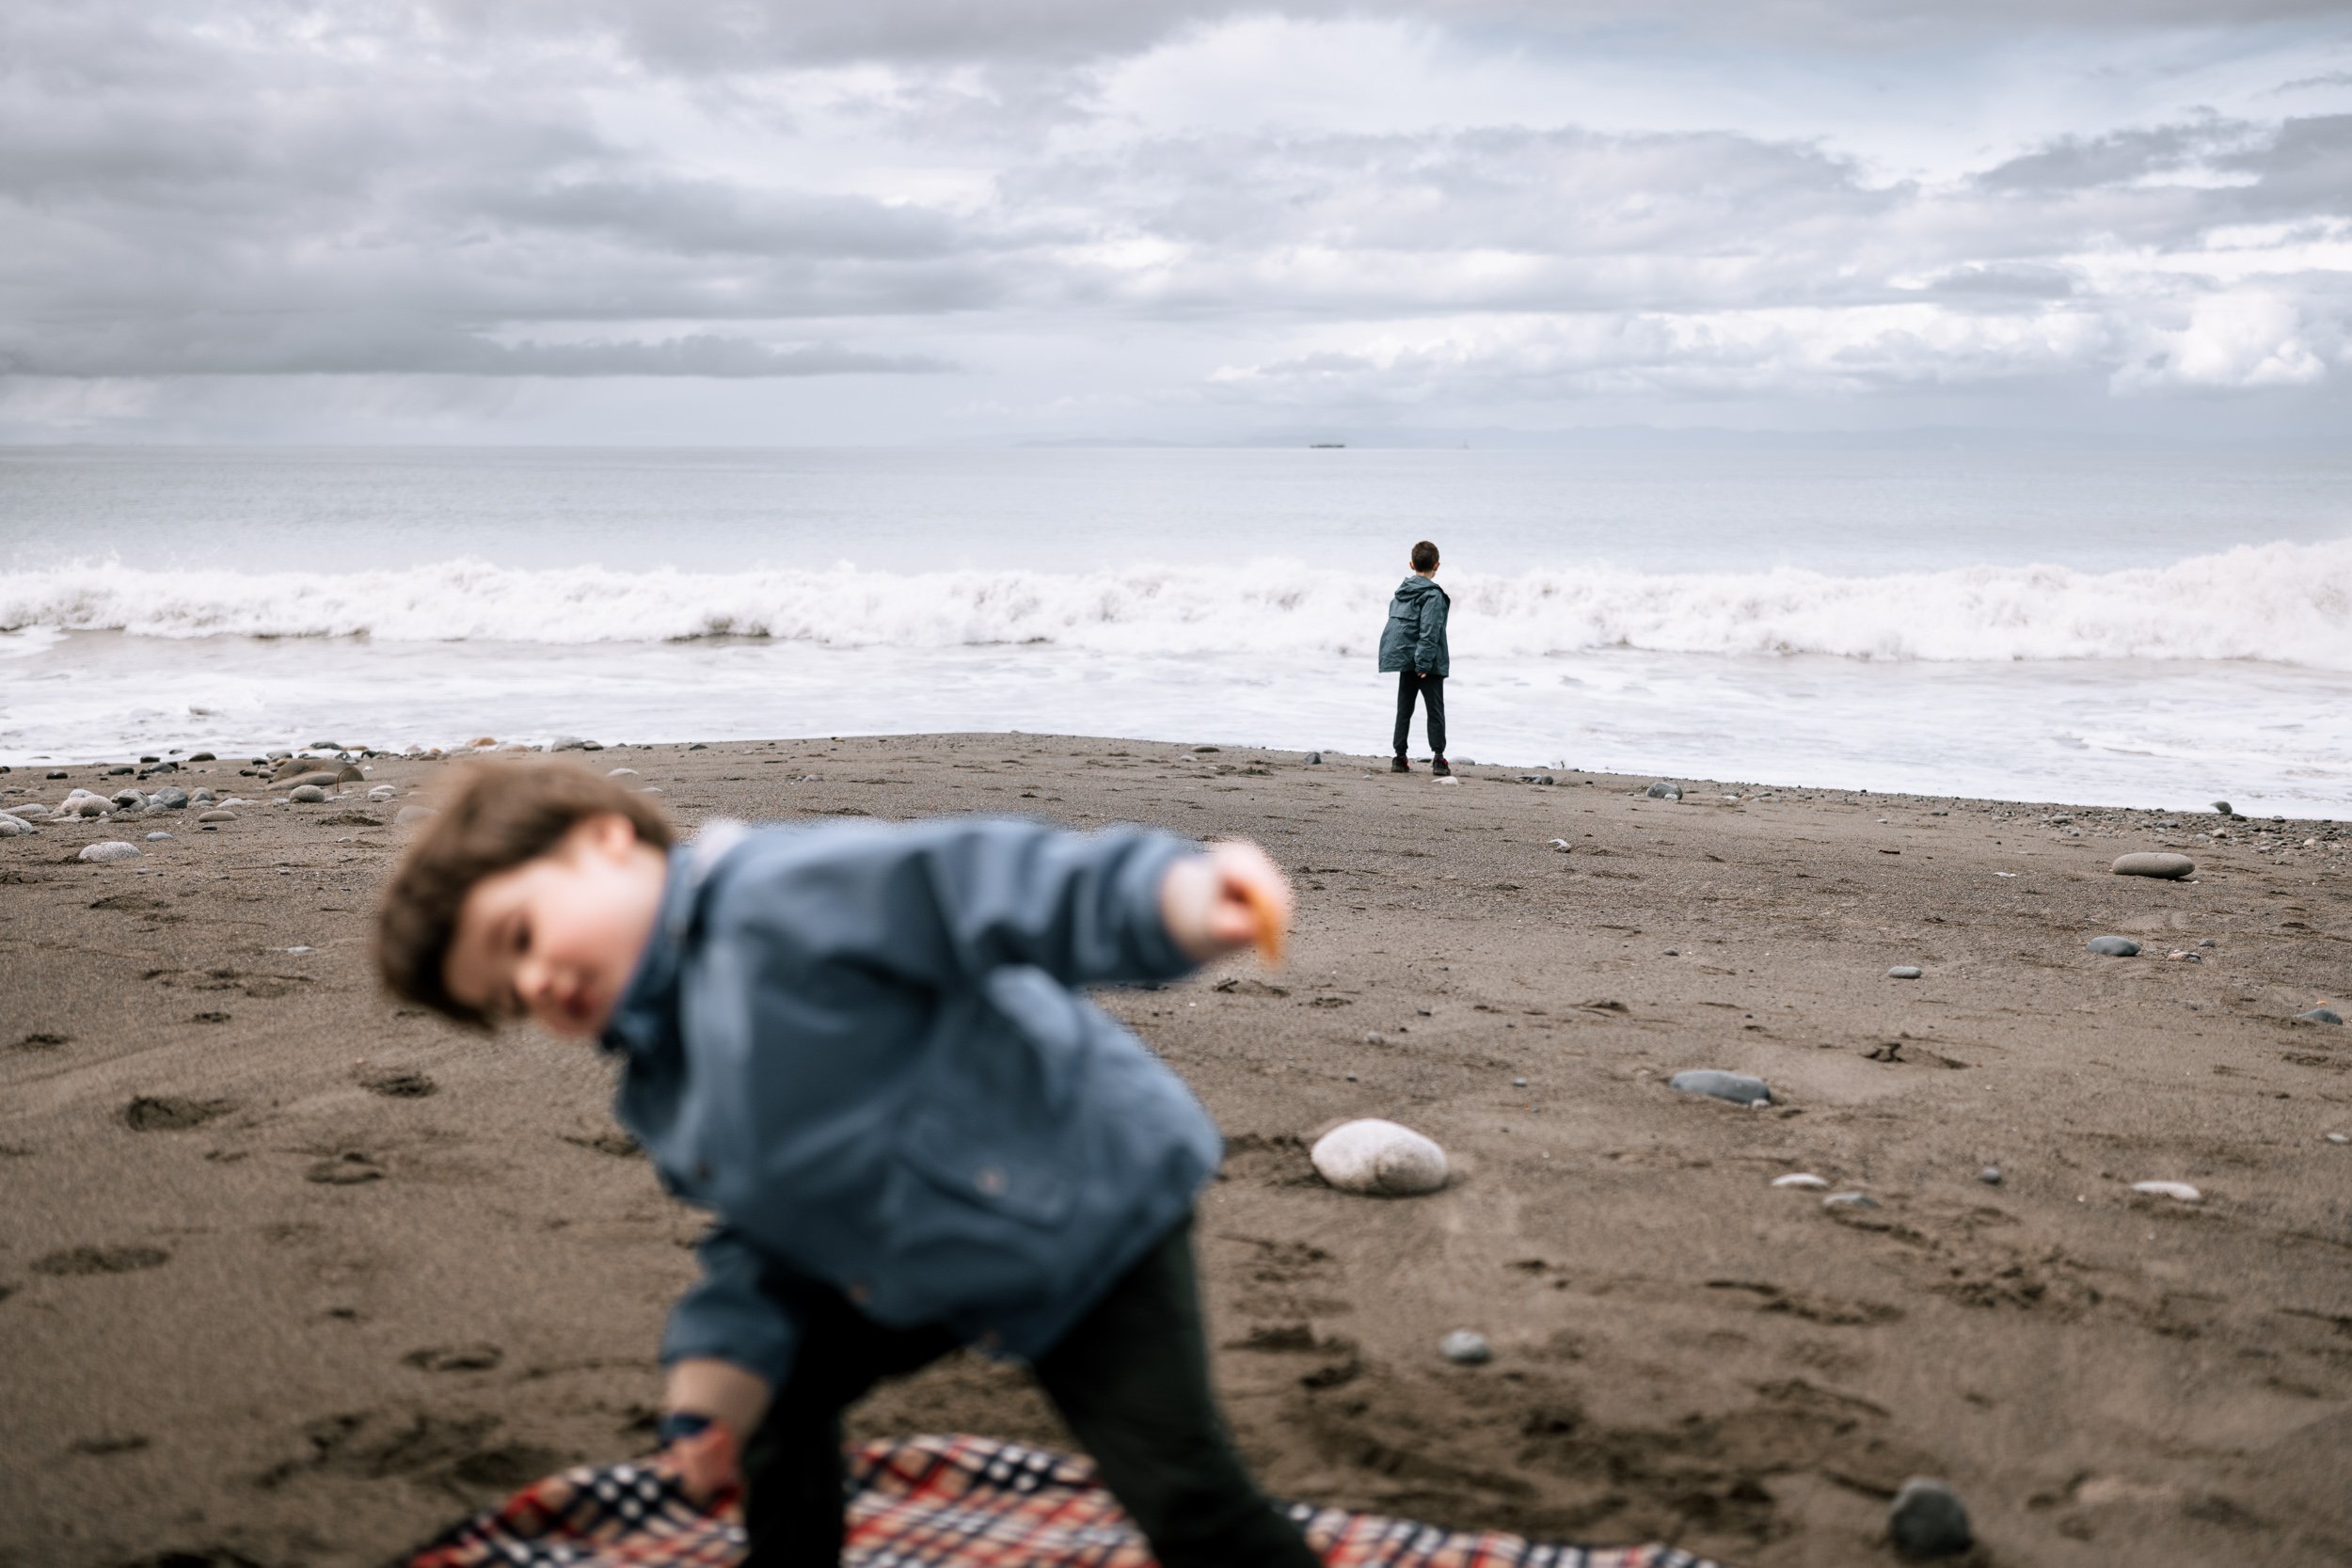
Cloudy days give you the flat, even light I mentioned in my last post. You won’t get the extreme contrast that often causes over- or under-exposure on part or majority of an image. If you do closeups, you won’t encounter the ugly shadows on the subject's face either.
Tip 6 - How To Photograph People In Strong Sunlight
When we travel with our kids, or on a tour, sometimes it’s inevitable we will be out in the middle of the day. The sun is right above you, and casts a strong shadow on your face. It’s typically the worst hour to take photos.
Tip 7 - Window light is your best friend for indoors
Getting the best image quality indoors could be tricky. Don’t let your past blurry, pixelated images discourage you. You could easily improve your photos if you know how to use the window light.
Tip 8 - Faceless or still image for indoors
In dim light situation indoors, photographing people could be tricky. If you try to photograph a toddler with unpredictable moves, you will most likely end up with blurry images, even you have all the correct camera settings.
Tip 9 - Aperture Priority is a great starting point
If you are interested in taking photos with a mirrorless (or DSLR) camera, but don’t know how to maneuver all the settings, or if you have only been using auto mode, you will soon improve your photography skills by starting out with aperture priority.
Tip 10 - How To Shoot In Full Manual Mode
Full manual mode isn’t intimidating. If you followed my last tip and had enough practice on aperture priority, now switch your dial to manual mode. When do you want to switch from aperture to manual?
Tip 11 - Why & how to Use spot metering
If you couldn’t figure out why sometimes your photos are so bright or so dark, or you took the same photo seconds apart but one was a lot brighter/darker than the other. This has something to do with your metering, something we don’t talk about often, yet of vital importance.
Tip 12 - RAW & White Balance
If there’s only one auto setting I’d use from any mirrorless/DSLR camera, it’s auto white balance. Hang on, what is white balance? You may ask. If you never heard of it, you might be someone who hasn’t used mirrorless/DSLR cameras, or still at beginner level. In fact, it’s totally OK not to spend too much time worrying about it - no matter if you are amateur or professional.
Tip 13 - How to get accurate focus?
One of the biggest headaches for many mirrorless (or DSLR) photographers, amateur or professional, is the “blurry image”. Many photographers encounter the “disaster blur” where nothing is in focus, or the wrong thing is in focus. There are many reasons for the error.
Tip 14 - Motion Blur
Today’s blur has nothing to do with aperture or shallow depth of field. Instead, it’s created by slow shutter speed. This might work particularly well in indoor or dim light settings.⠀⠀⠀
Tip 15 - How to get everyone to look at your camera?
As someone who enjoys capturing motion and energy in the most candid style, I rarely make posed family portrait where everyone smiles perfectly at the camera. However, at the early stage of my photography journey, I took so many photos for other families and friends, and learned a few tricks to nail the shots.
Tip 16 - How to improve consistency?
Like me, you are a traveler, you take photos every day on your trip. You get good shots every now and then, but you just don’t know whether your next shot will be good, or bad. Let’s sit back and tackle these one by one.
Tip 17 - Practice Less Is More
If I have to share one single most important tip on how to improve photography quickly, this is it.⠀7 years ago, I wrote a blog “Less Is More - 7 Approaches To Create Simple Yet Strong Composition”, it’s still by far the most valid tip I have for anyone who’s interested in improving photography
Tip 18 - See The Lines
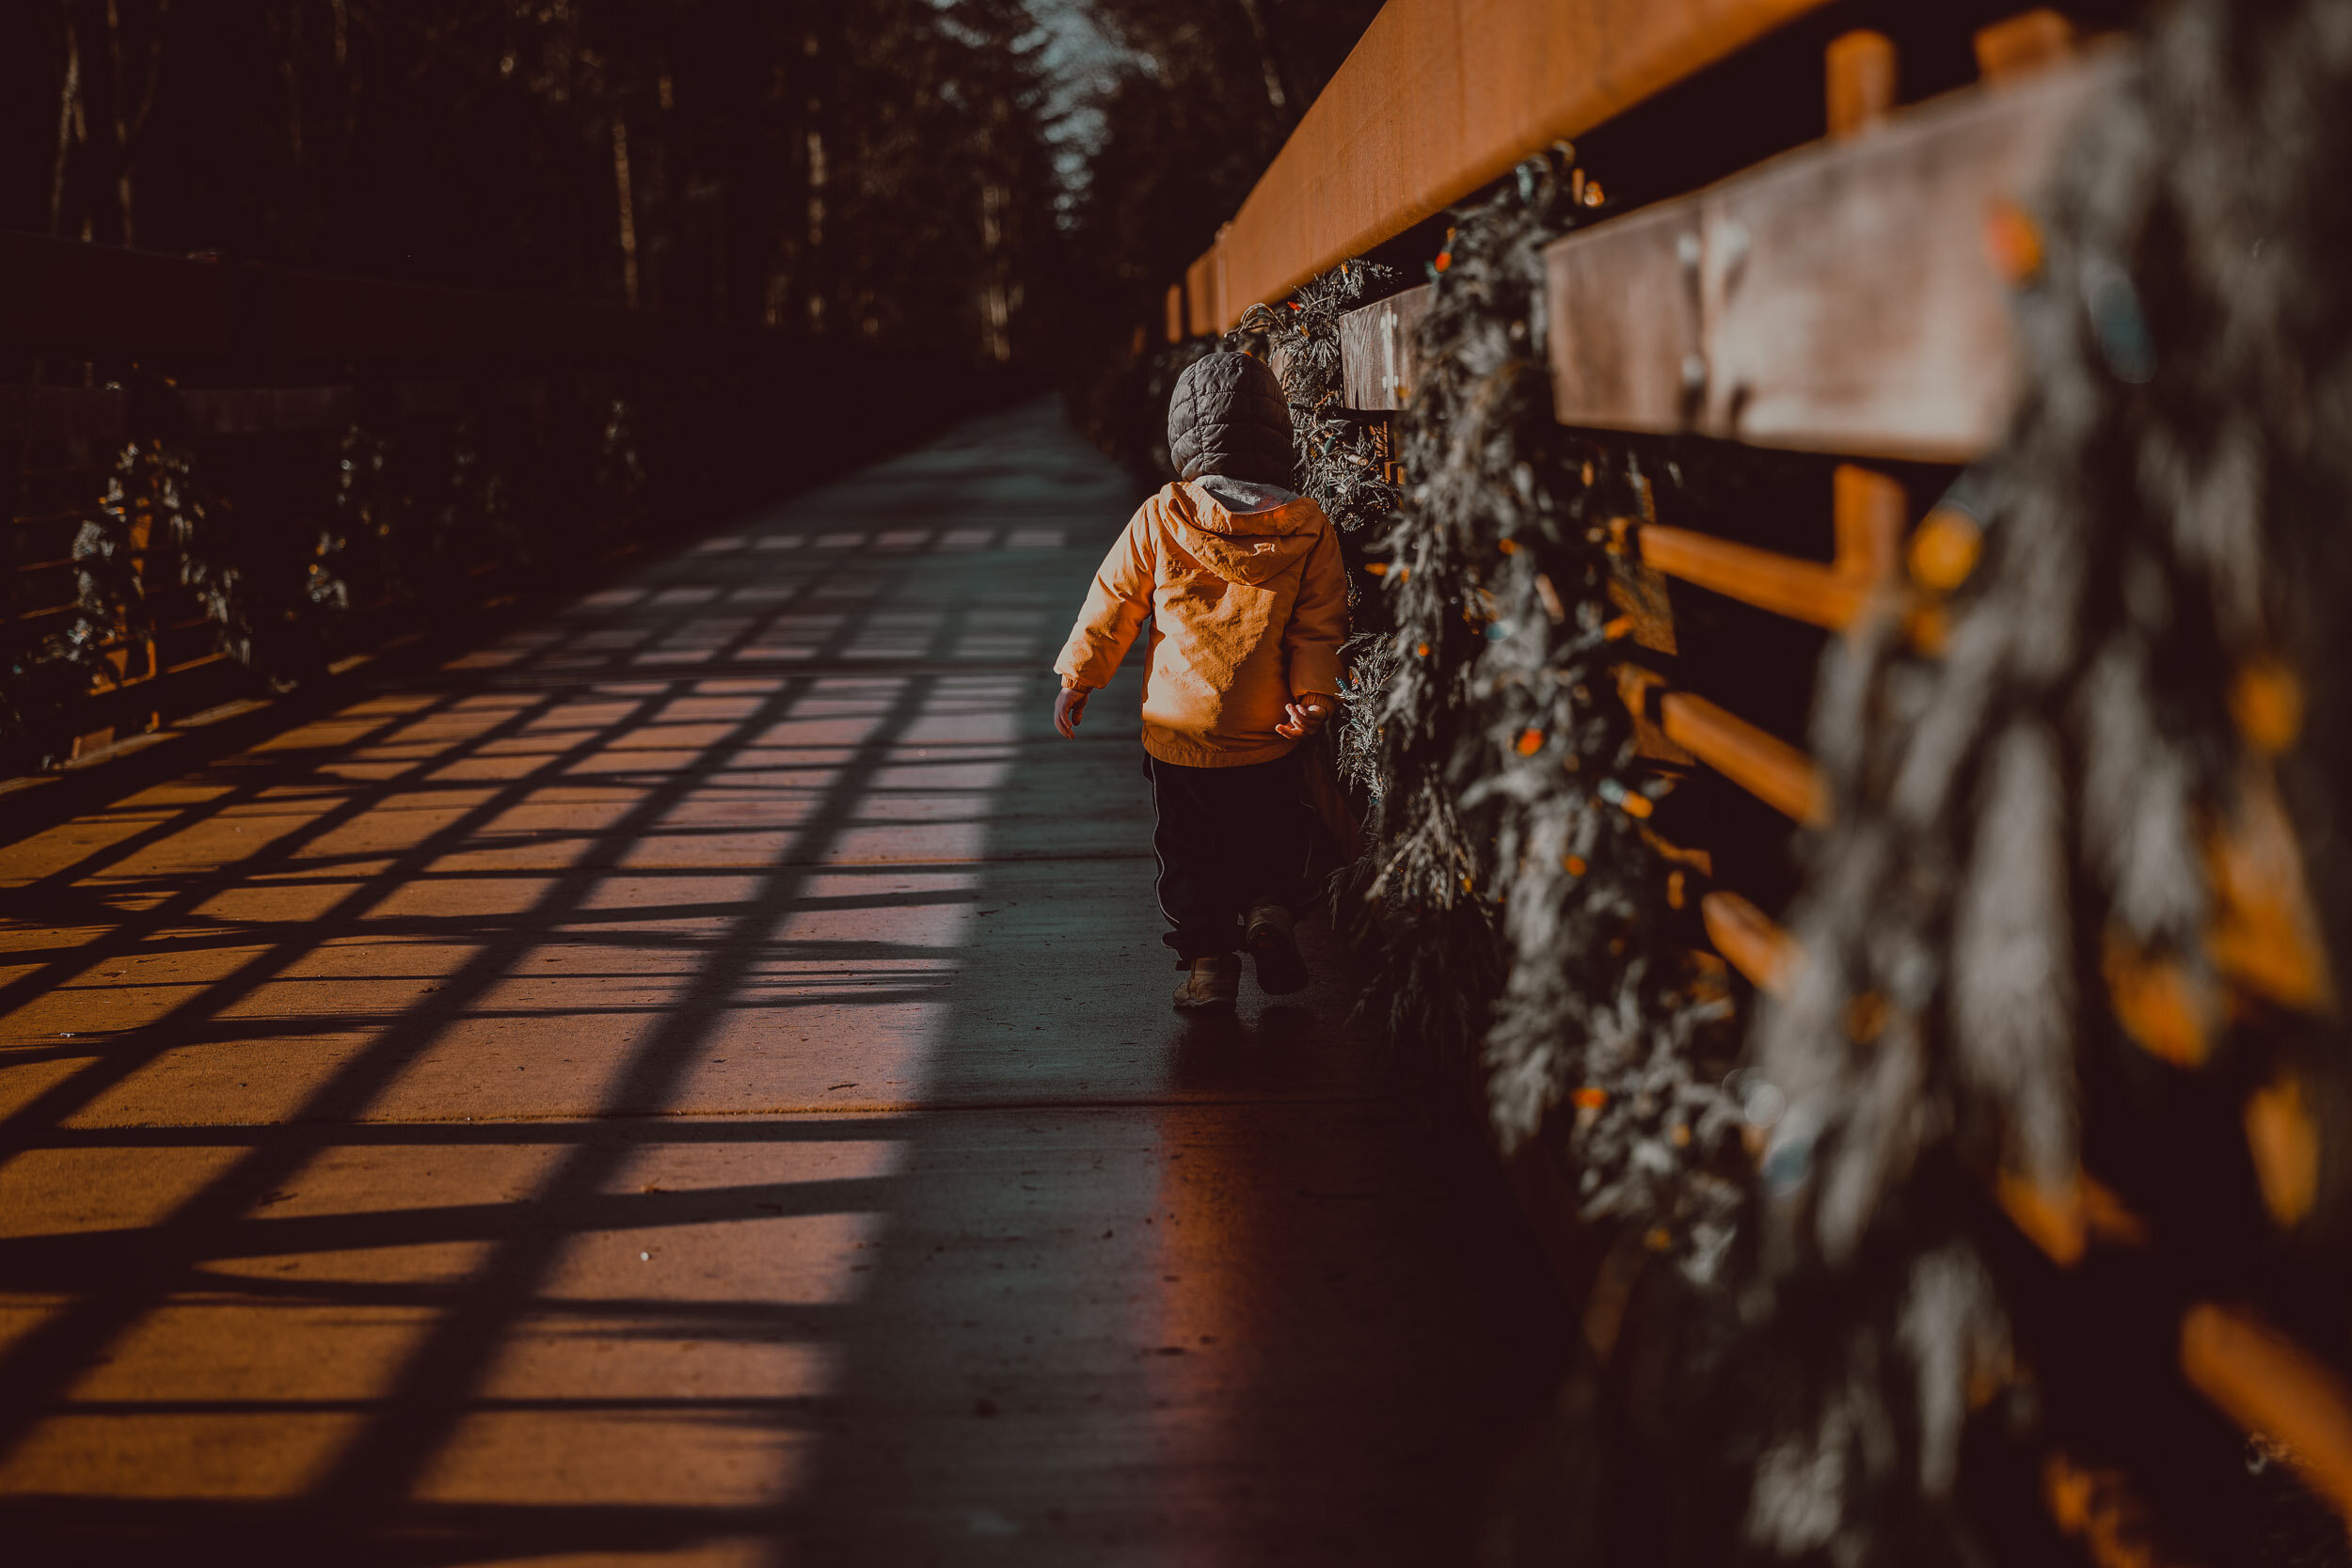
Pay attention to interesting lines. No matter seen from a piece of architecture, or a river path in the nature, straight or curvy, in the foreground or background, there are lines almost everywhere in our lives.
Tip 19 - Find Something Interesting In An Ordinary Place
Did you find the relation between the above two photos? Are you the first photographer or the second? Many of you might have stopped taking photos or posting images during the pandemic - I get it. I felt the same frustration when we couldn’t travel. That doesn’t mean you can’t find the inspiration. In fact, beauty is everywhere!
Tip 20 - Find Balance
A good composition is typically simple and balanced. This doesn’t mean your image has to be symmetrical. It’s the balance of your content, so you don’t feel one side of your image is too “heavy” and the other side is too “light”.


